Tools We Recommend

Along with our paper worksheets, you will need some tools for building a paper model:
- a self-healing cutting mat or a hard surface to work on
- a craft knife
- a creasing tool
- a steel ruler
- scissors
- a pointed stylus
- white glue (PVA)
- a small container for glue
- a glue applicator (narrow strips of paper work perfectly)
- tweezers - optional, but helpful for handling tiny parts
We have compiled a list of tools you can buy online from craft stores and marketplaces. We earn a commission if you click on the links below and make a purchase at no additional cost to you.
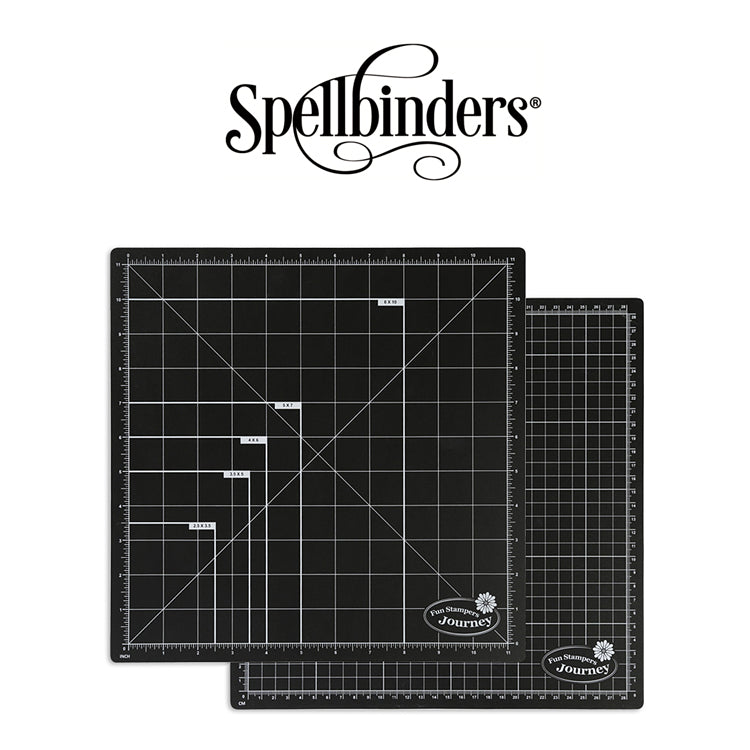
Self-Healing Cutting Mat
Self-healing cutting mat with inch/cm gridlines, usually comes in 12"x12", A4, A3, A2, A1 sizes. It is recommended for protecting your work surface when doing a variety of craft activities - cutting, scoring, gluing and more.
Craft Knife
In general, there are two types of craft knives you could use when building a paper model. The most versatile option is a craft knife with snap-off retractable 9mm wide blades - it is ideal for cutting straight lines which make the most of the projects. For cutting curvy lines and tiny parts you can also use a precision craft knife with changeable pointed blades. See our tips on using the craft knife.
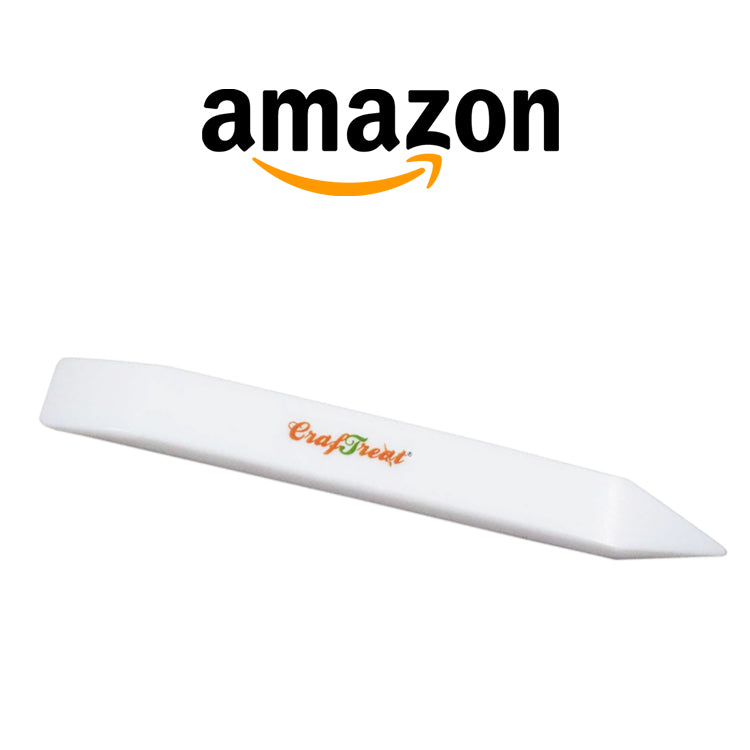
Creasing Tool
There are two main types of tools you can successfully use for pressing a creasing line into paper. We find an embossing tool to be the best one as it is easy to control either making short or long scores. It also works great for rolling paper strips around its handle, for example, when you need to make a tiny round part like a column. A lot of crafters already have a dull-edge bookbinders' bone folder in their arsenal so it might be a good alternative tool. We are linking both types below for your own choice and convenience.
Steel Ruler
We recommend to use at least 1mm thick and 30 cm (12") long steel ruler as a guide for scoring and cutting.
Scissors
Any standard scissors will do the job however we recommend these for their ergonomic design.
Pointed Stylus
A pointed stylus helps greatly with knocking out the cut-out parts from pre-cut sheets. In theory you can use the same embossing tool but sometimes it is much easier to work with a sharper tool. There are a lot of products on the market that can be used for this purpose - usually sold as modelling tools or etching pens, but you can use any of these - knitting needles, dentist tools, metal scribers.
White Glue
We recommend PVA-based white glue, particularly pH neutral or sometimes called archival quality - it spreads well, dries fast, doesn't yellow over time and doesn't leave stains. There are many other types of white glue which you can use - called woodworking or builders' glue. Just stay away from any glue which has a word "tacky" in its name - it could leave glossy spots and won't adhere as well, too. Remember to spread the glue evenly in a thin layer, and use as little as necessary.
Glue Container
First, pour the glue into a small plastic or ceramic tray, box, cup, saucer or even directly on a piece of cardboard. Instead of using a self-made or recycled tray you can opt for these ready-made solutions:
Glue Applicator
While we find that narrow strips of card work the best for applying the glue, we don't mind if you use a special glue applicators as long as they are easy to manipulate while spreading a thin layer of glue onto the paper parts.
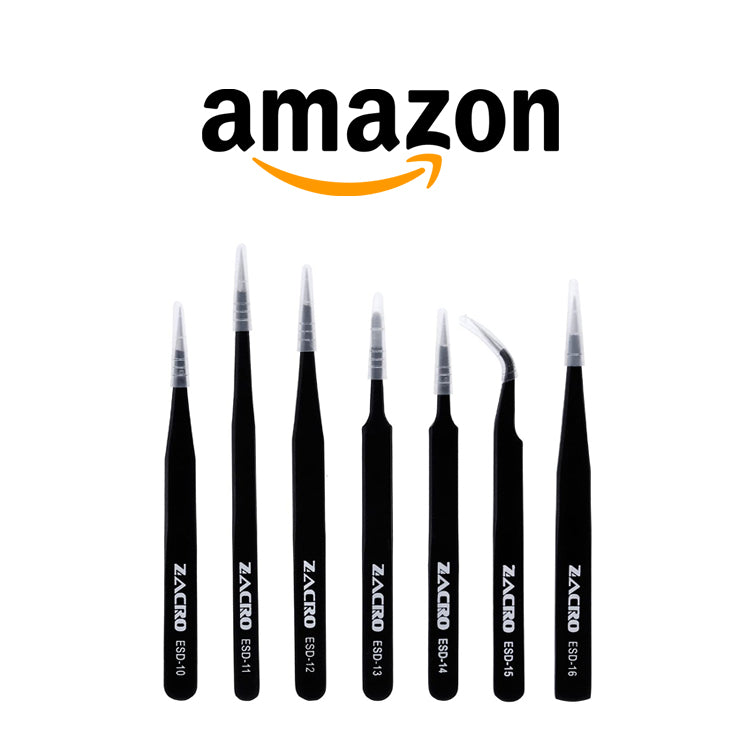
Tweezers
Tweezers are optional, but helpful for holding and attaching tiny parts. It's always good to have several different tweezers - long, short, straight and curvy.
Disclaimers
All trademarks and other IP are the property of their respective owners. We earn a commission if you click on the links on this page and make a purchase at no additional cost to you. We recommend products listed here however we can't guarantee availability or quality of the product or service you will receive.
Subscribe to our emails
Be the first to know about new products and exclusive offers.
- Choosing a selection results in a full page refresh.
- Opens in a new window.


